Sweetheart Rally – Day 2, Great BBQ, RV Repair and RV Modification
We had some great area BBQ for lunch today, I got an RV modification and an RV repair done and we enjoyed day 2 of the rally.
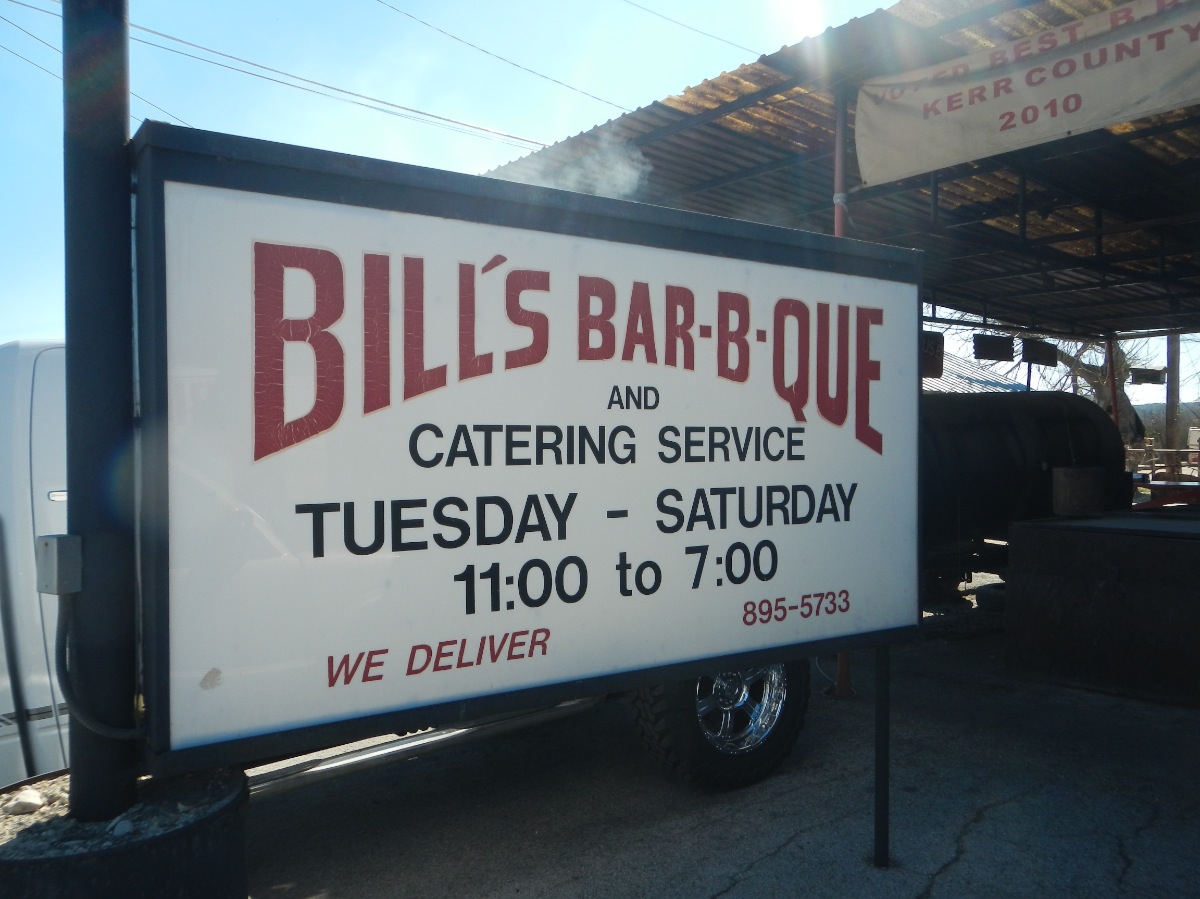
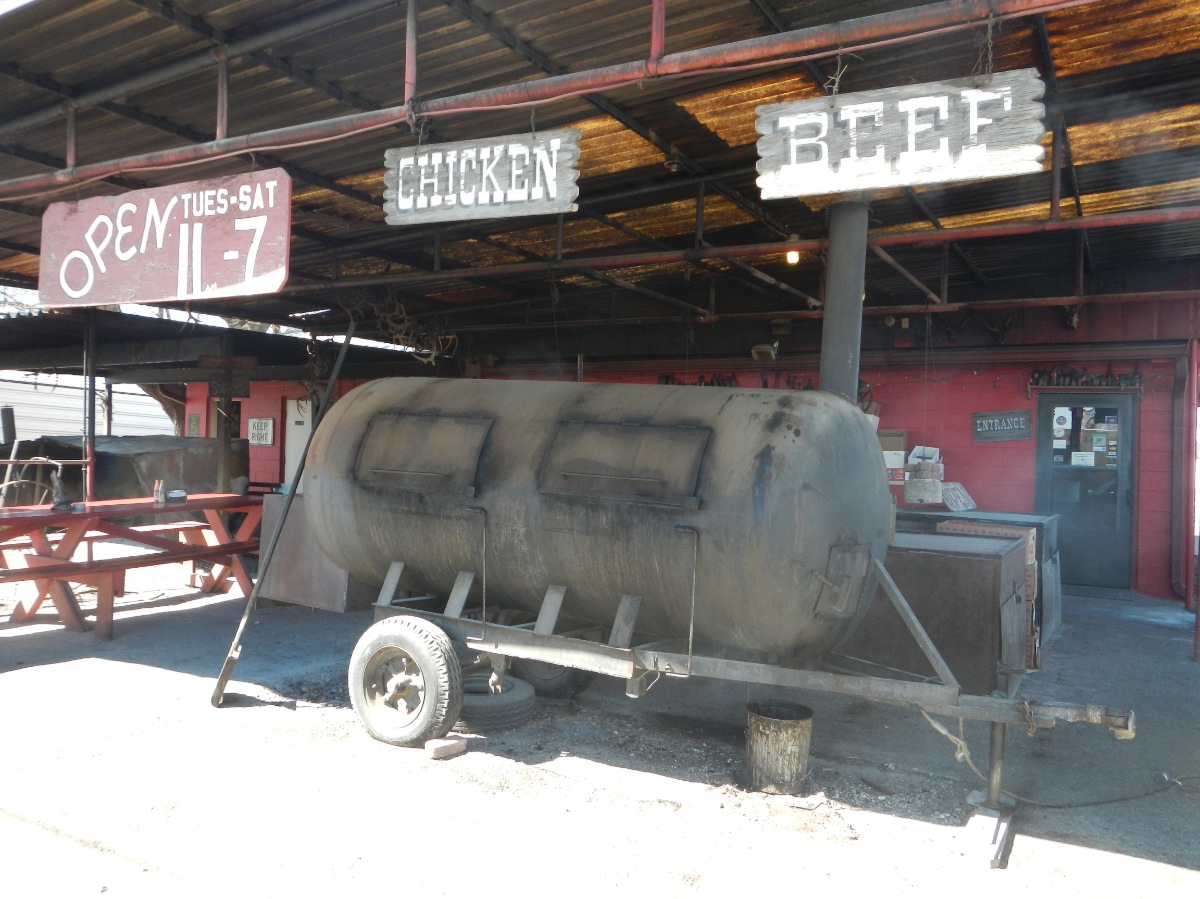
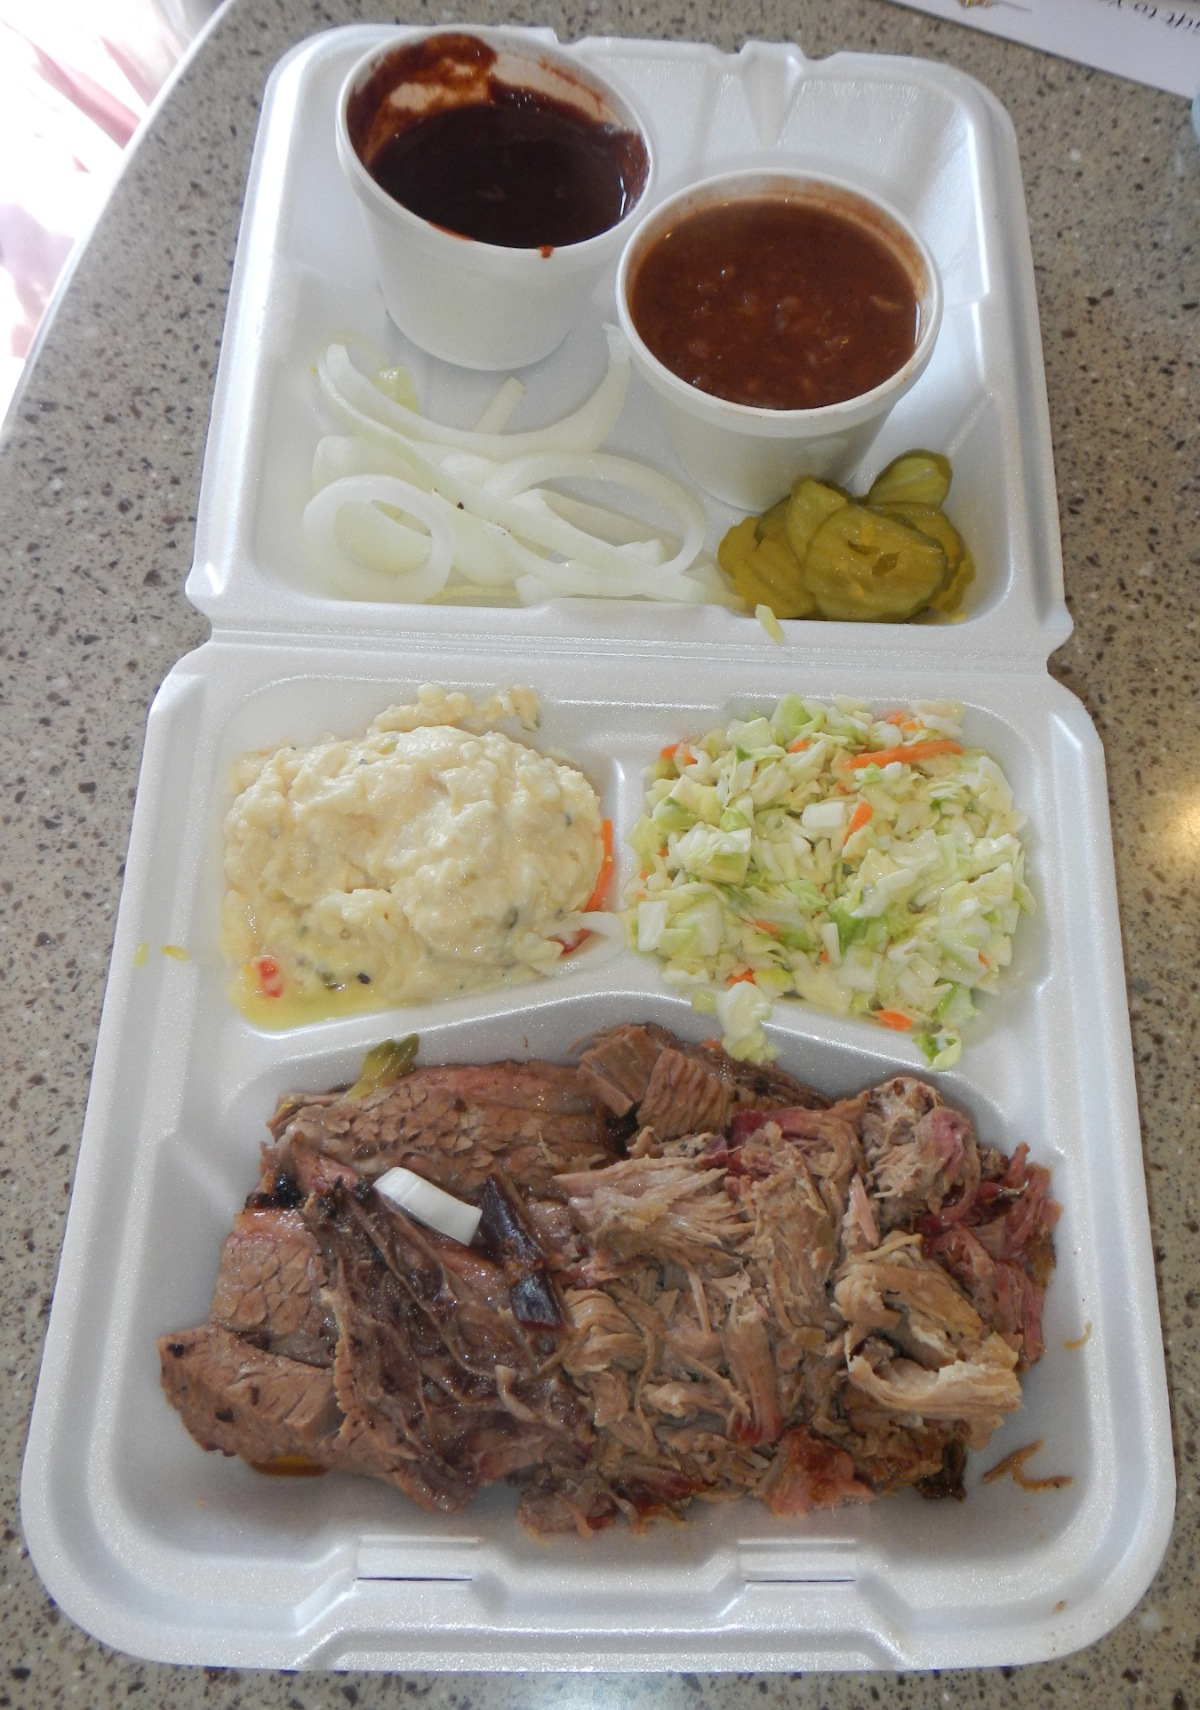
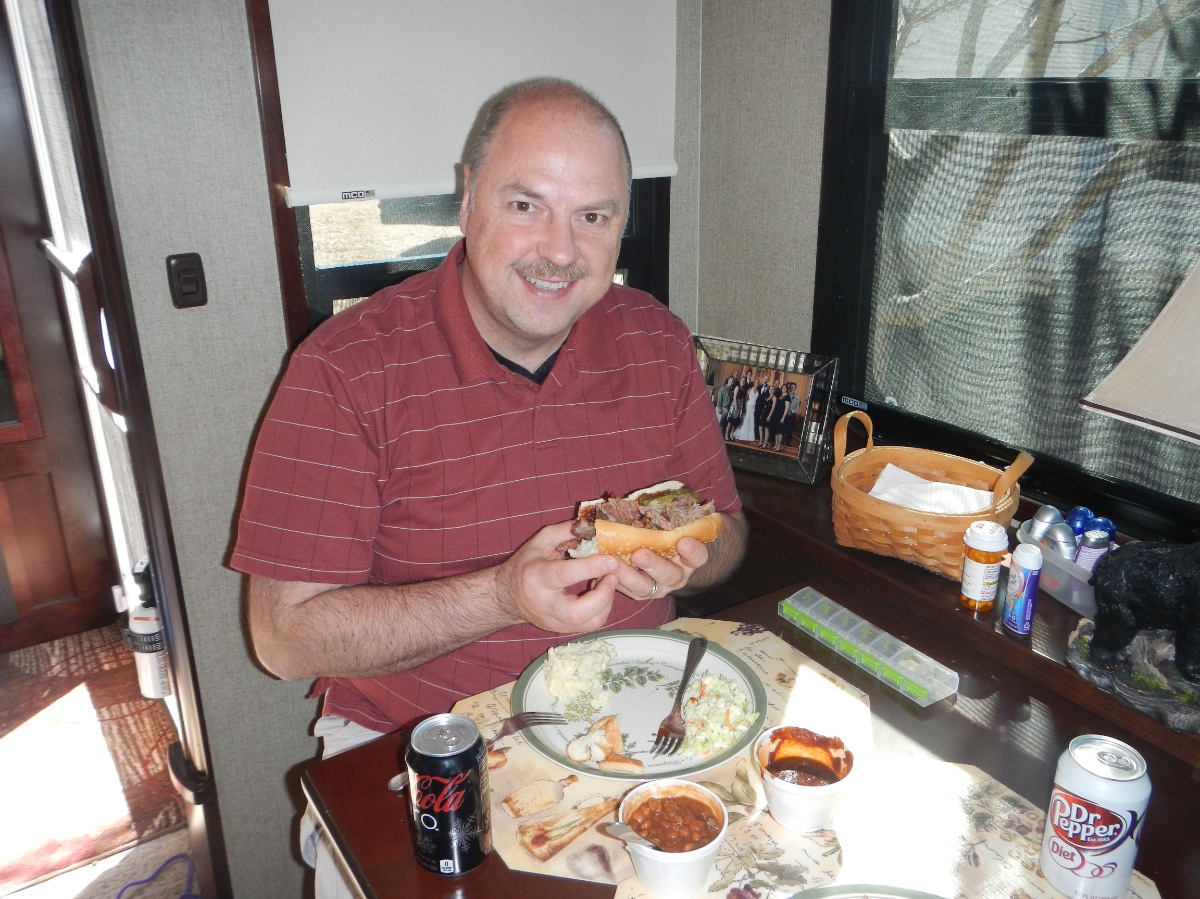
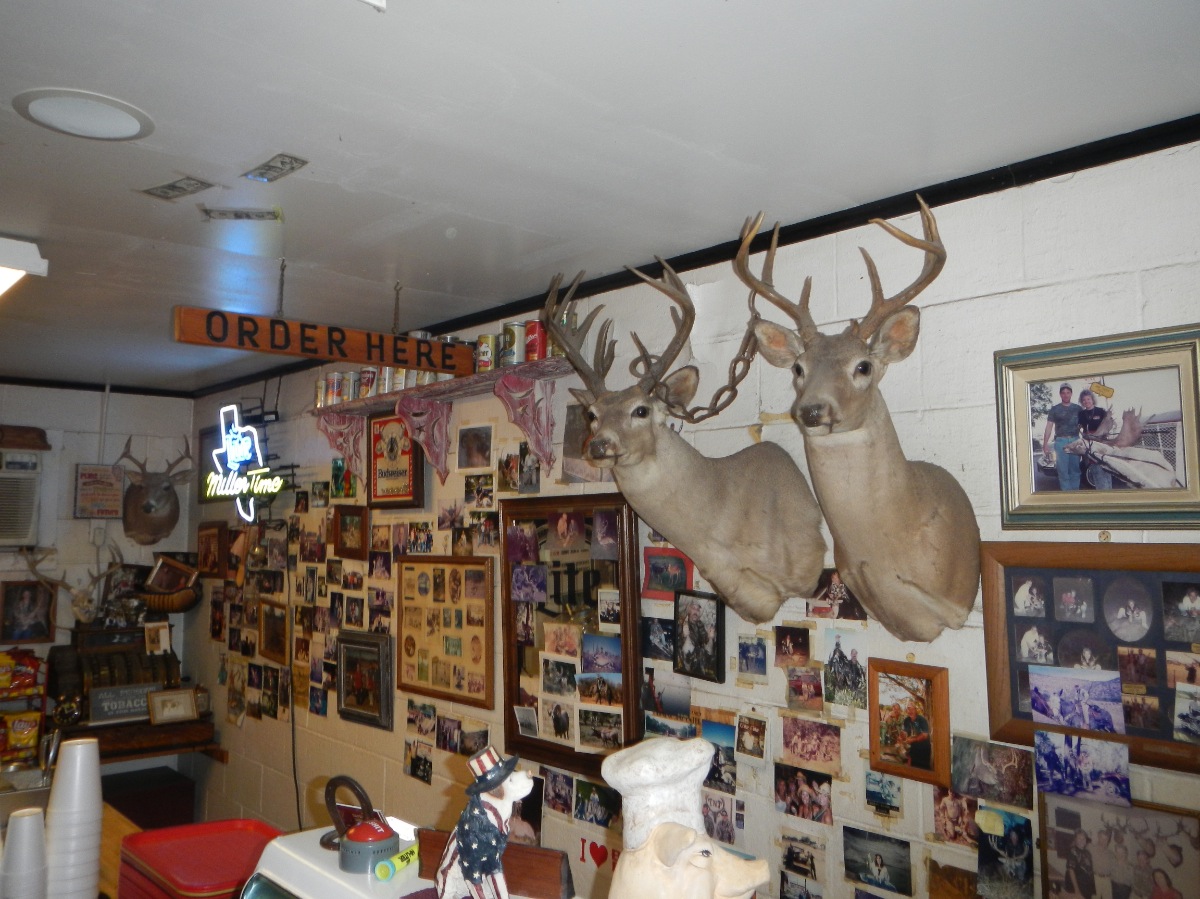
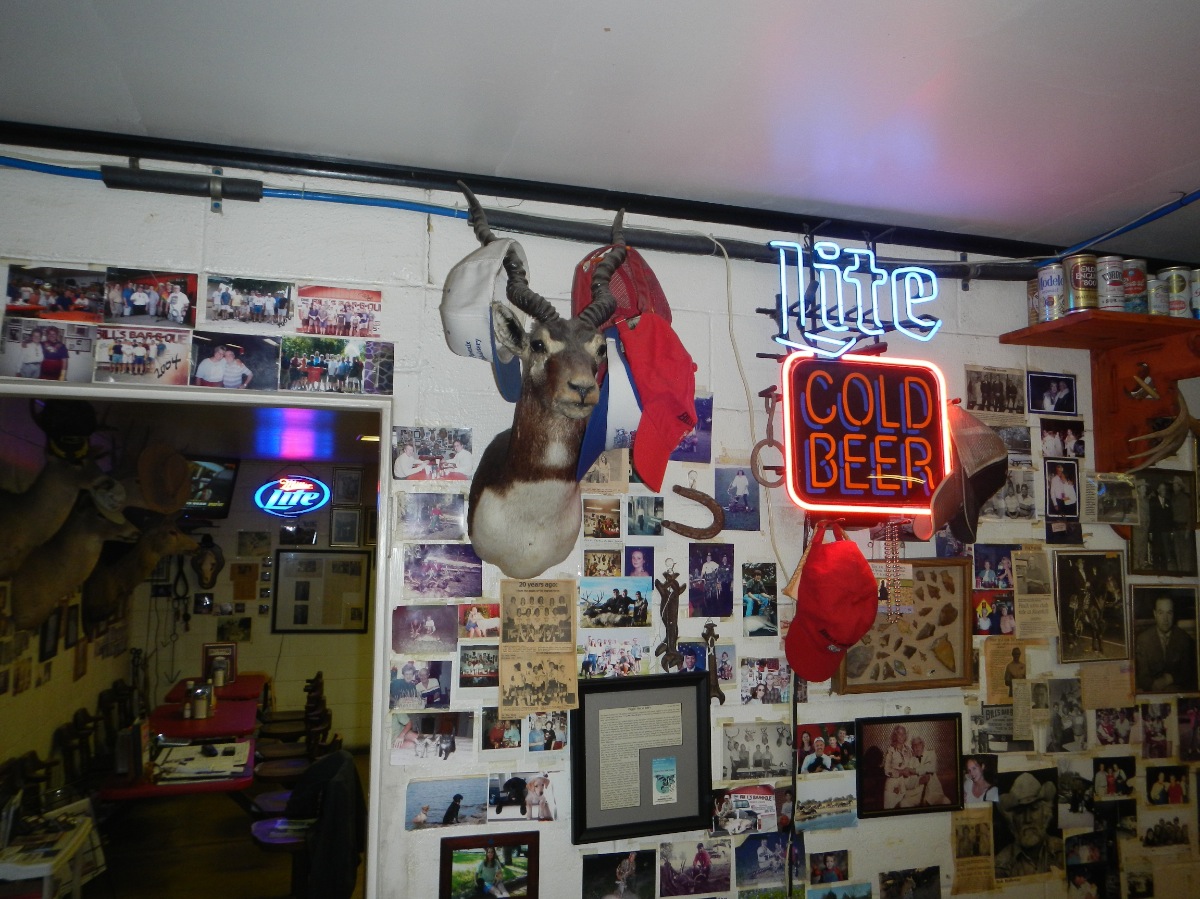
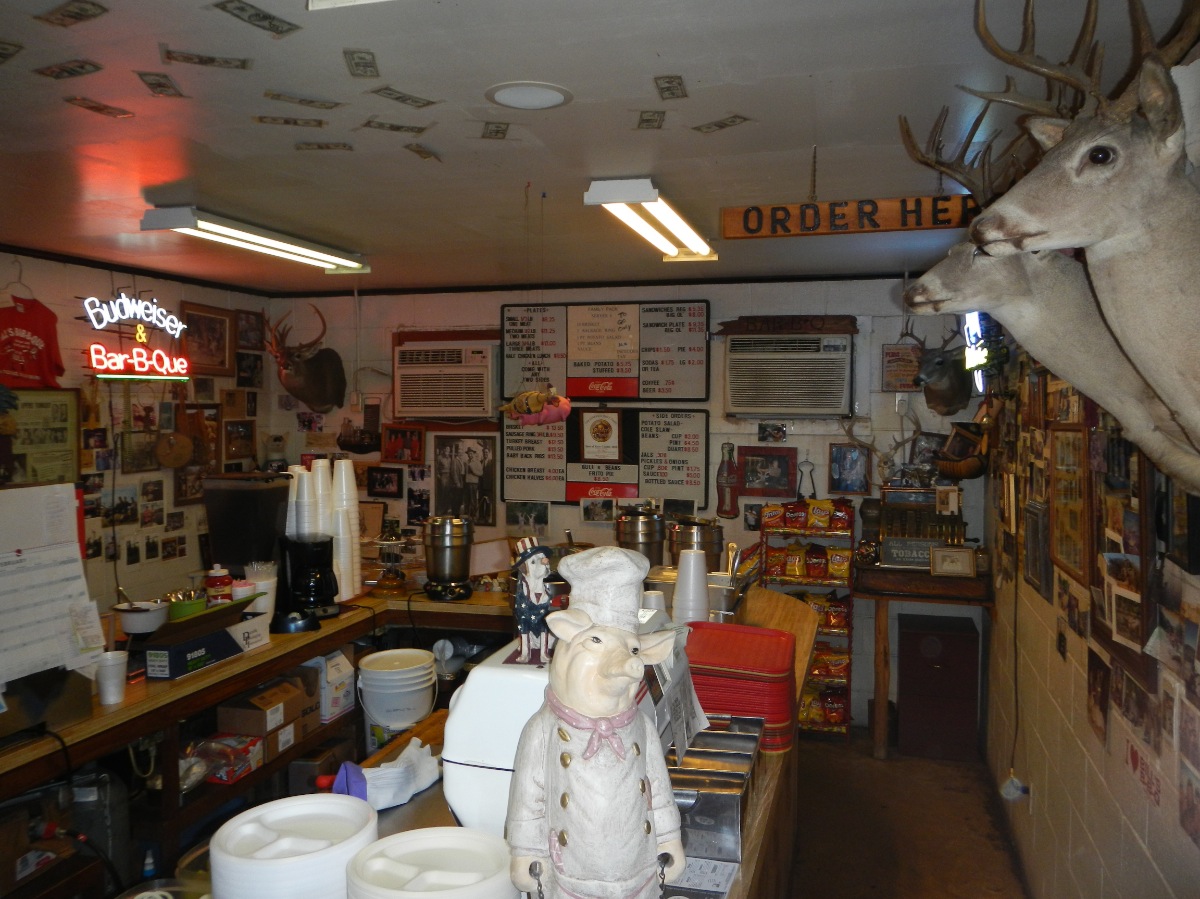
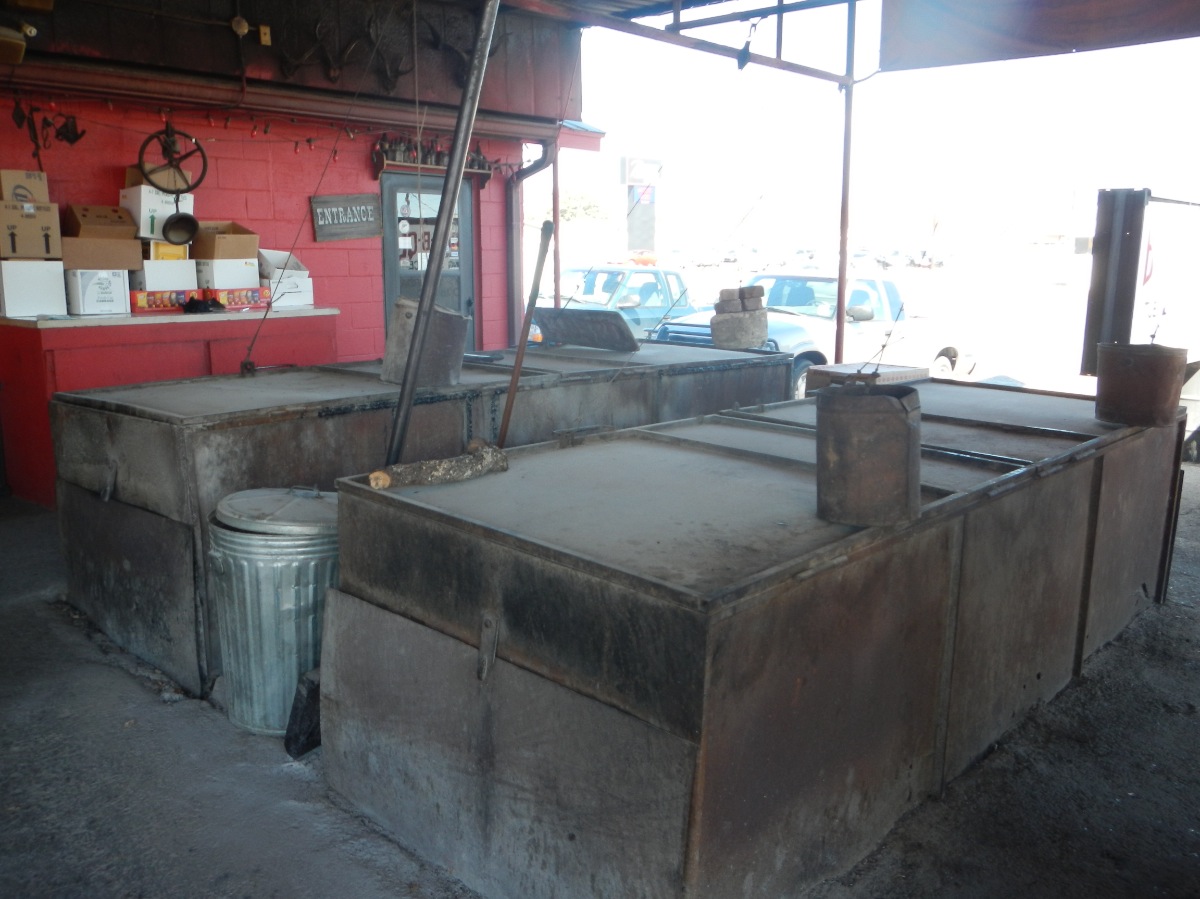
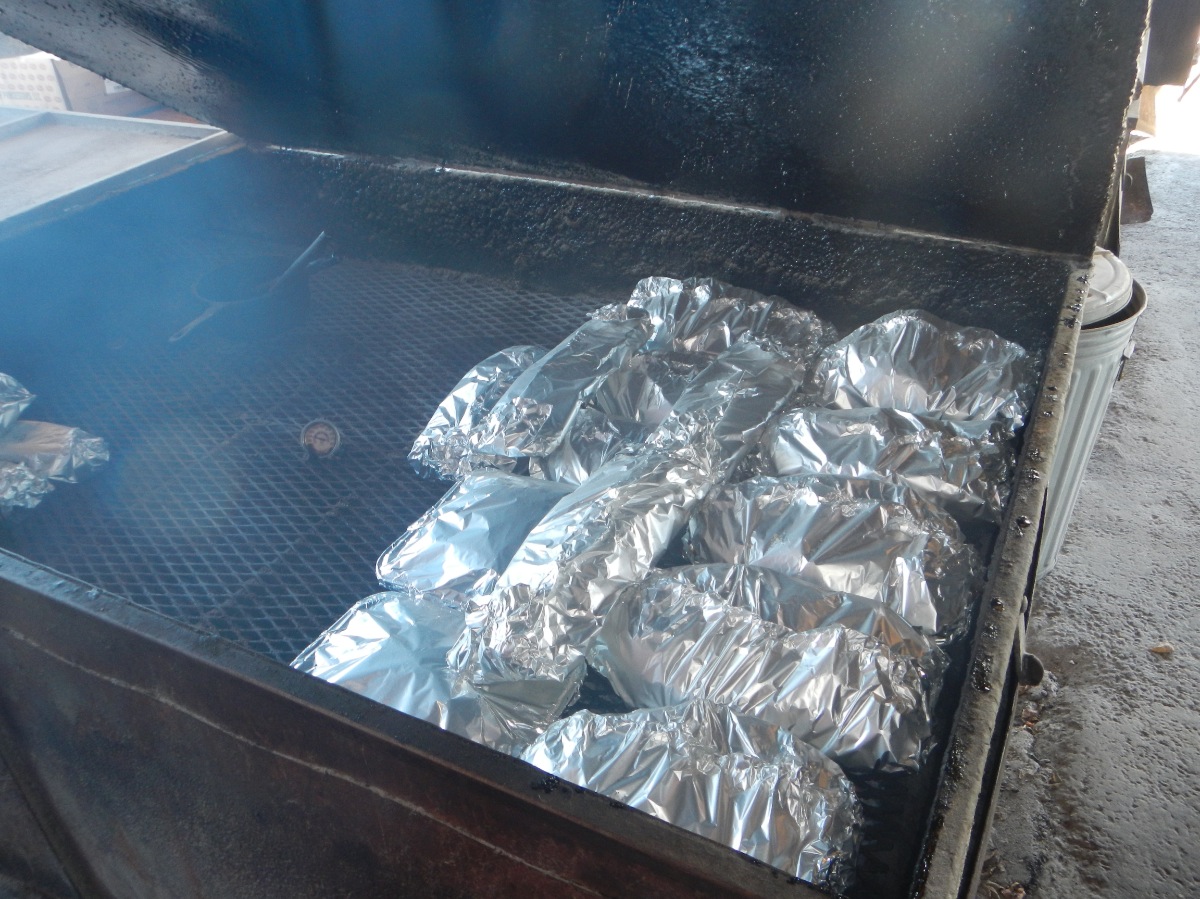
After a fairly lazy morning, we went to town to get some groceries, then we stopped at Bill’s BBQ to get some Q to bring home for lunch. Oh my gosh! Their brisket and ribs were AMAZING! I told a few rally attendees about my lunch and I know at least two people who went there on my recommendation. I got good reports back.
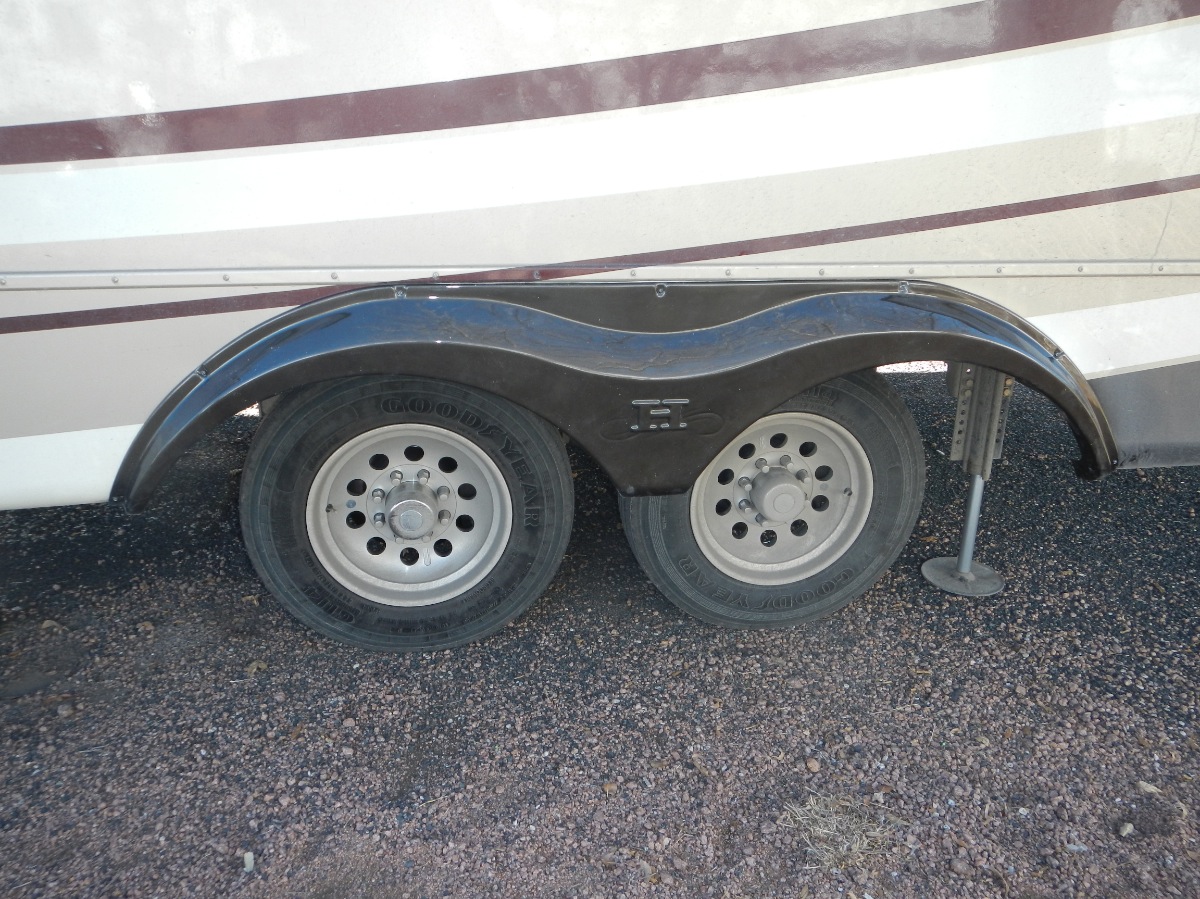
Kevin W, then later Terry H, then later Lou D all stopped by to lend a hand on my repair and my mod. The RV repair was replacing the off-door-side fender on the Landmark. A crack had developed around the top-center screw hole. When we removed the old fender, Terry noticed that there was a deep gap or space behind the fender where that top-center screw was. Lack of a spacer there and over-tightening of the screw led to the plastic around the screw cracking. Terry and Lou trimmed a nylon bushing to size and we used it as a spacer behind the replacement fender. The two support brackets that are used as stabilizers for the fender, needed to be re-tied into the new fender. The factory used screws but I preferred to use small machine threaded screws. Lou had a nice supply of hardware so we were in luck, Here’s the new fender.
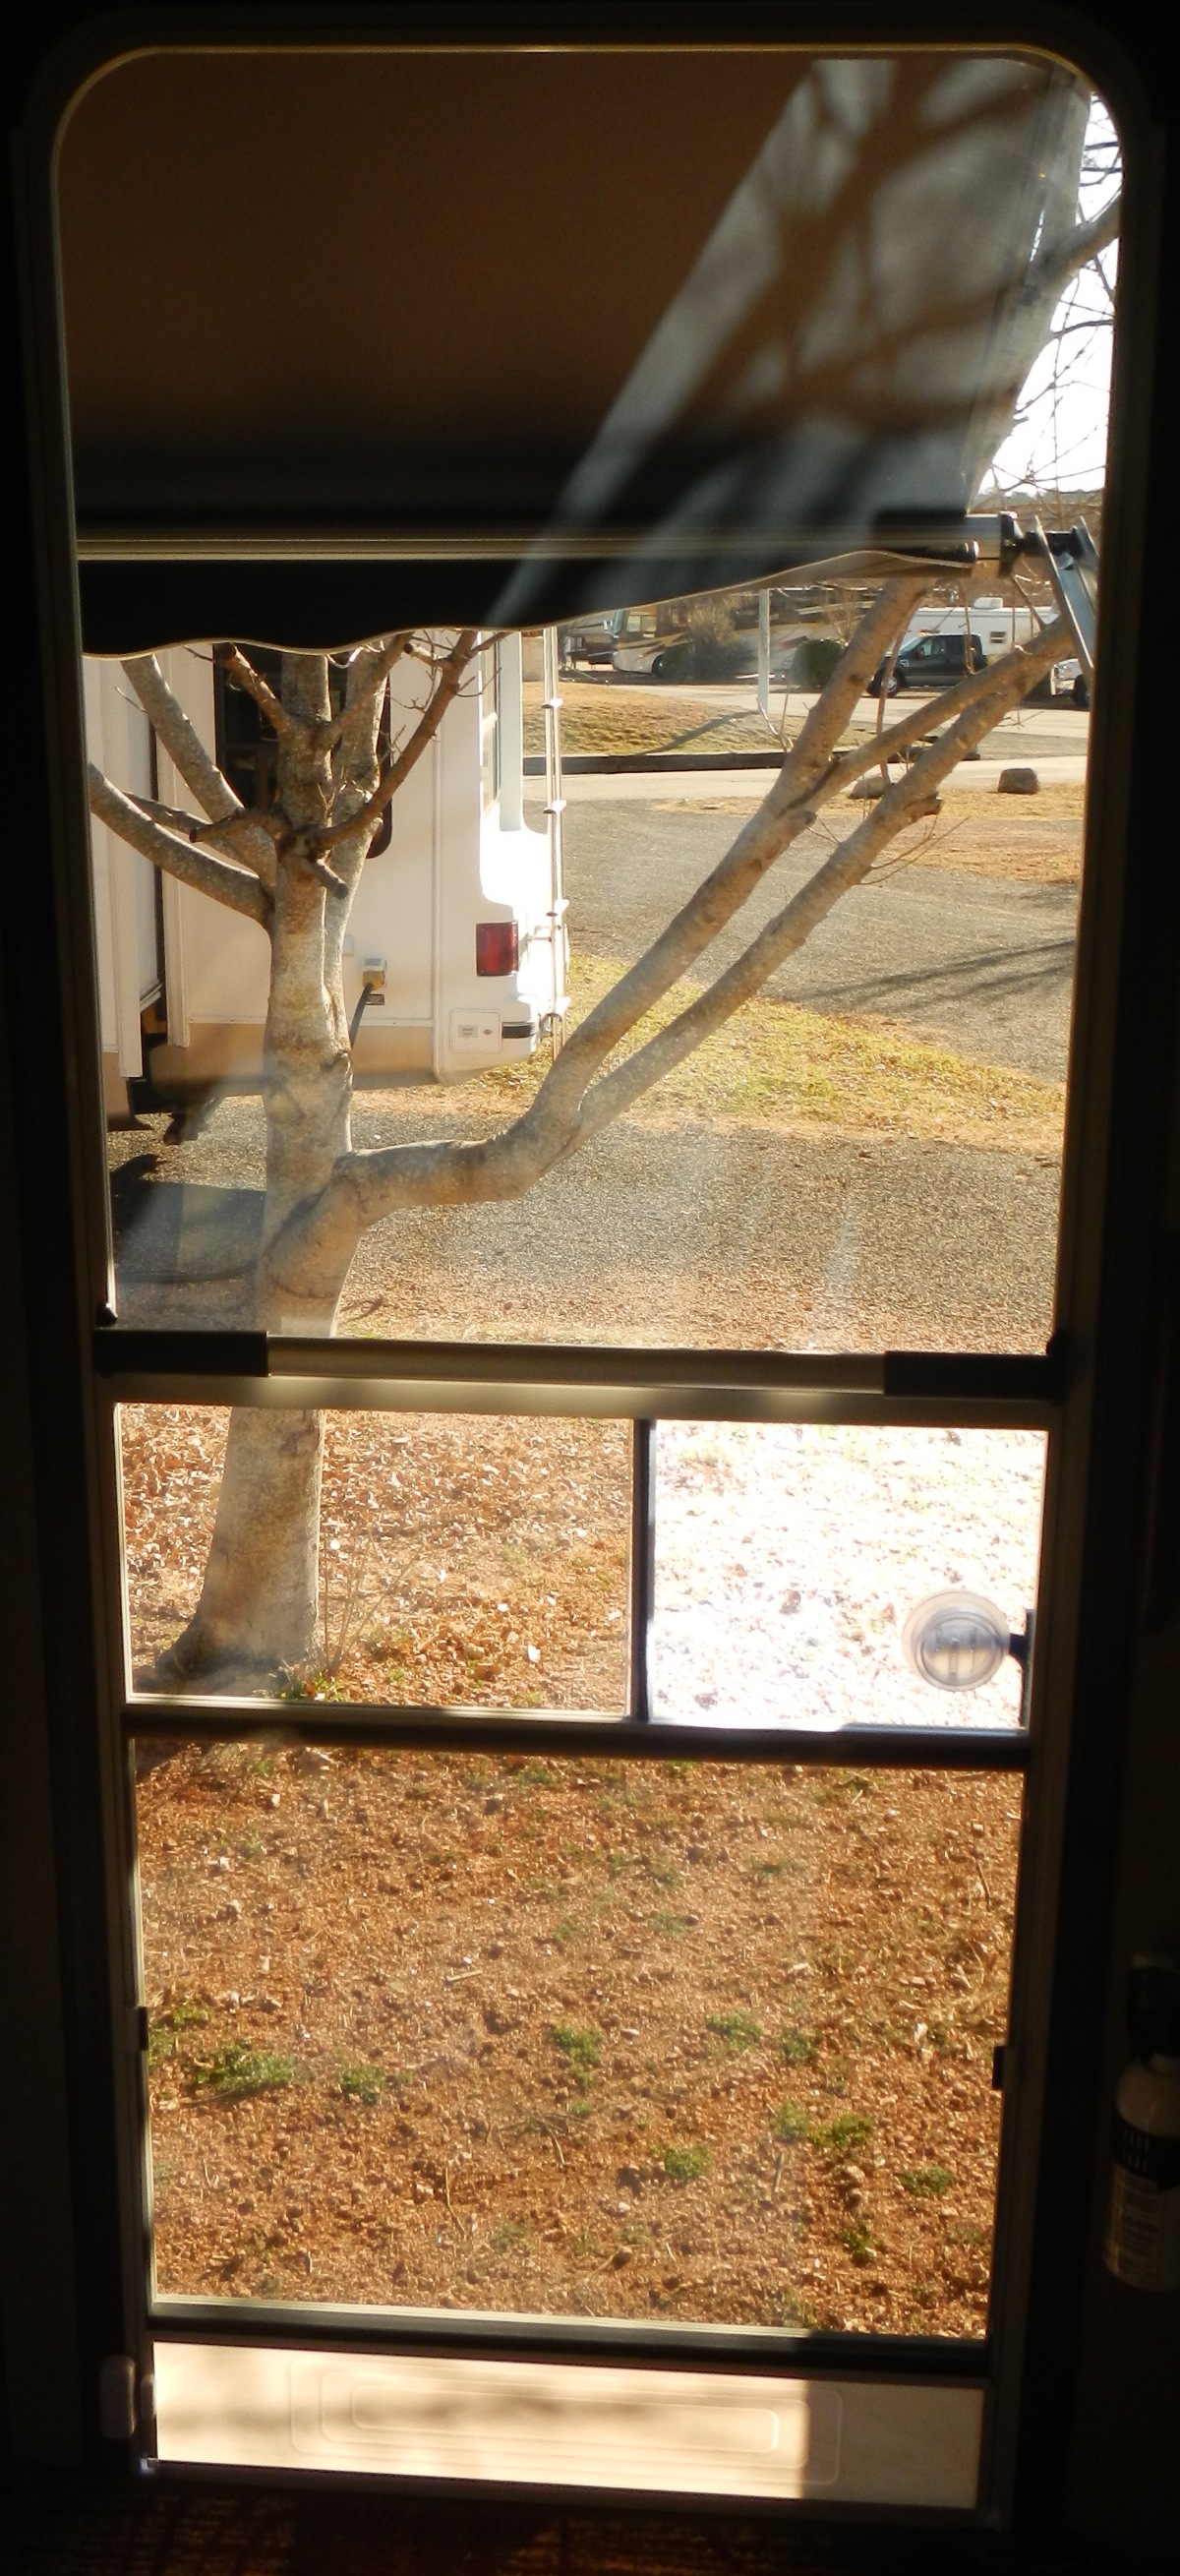
The RV modification was the creation of a partially removable storm on the RV entrance screen door. In the past, I’ve used plexiglass and lexan. This time, I found tinted acrylic sheets at Home Depot, so those were used. I made all the measurements, Kevin and Terry rechecked them, Kevin did the layout and I did most of the cutting. I have to say that while I like the tinted look, I did not care for working with acrylic. It’s almost as sharp as glass and nearly as fragile. That said, I LOVE the look of the tinted acrylic and I am sure we’ll start benefitting from it this week. We made the top section fixed. Even removed the screen so the glass can be cleaned on both sides as needed. We made the bottom section removable so we can let air come in when desired and easily pop in the panel when we want to keep our heated or cooled interior air, inside with us 🙂 Thank you friends for helping with the repair and mod – you’re the best!
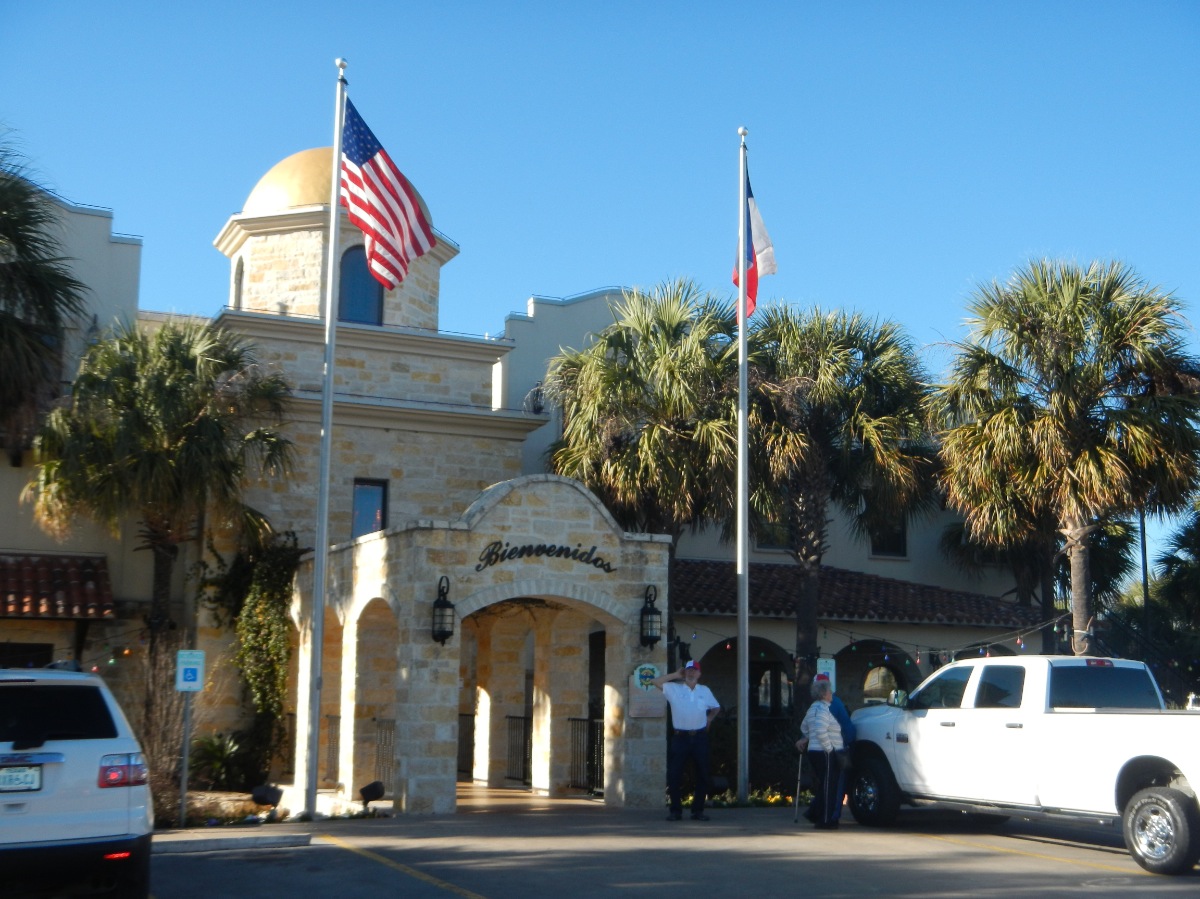
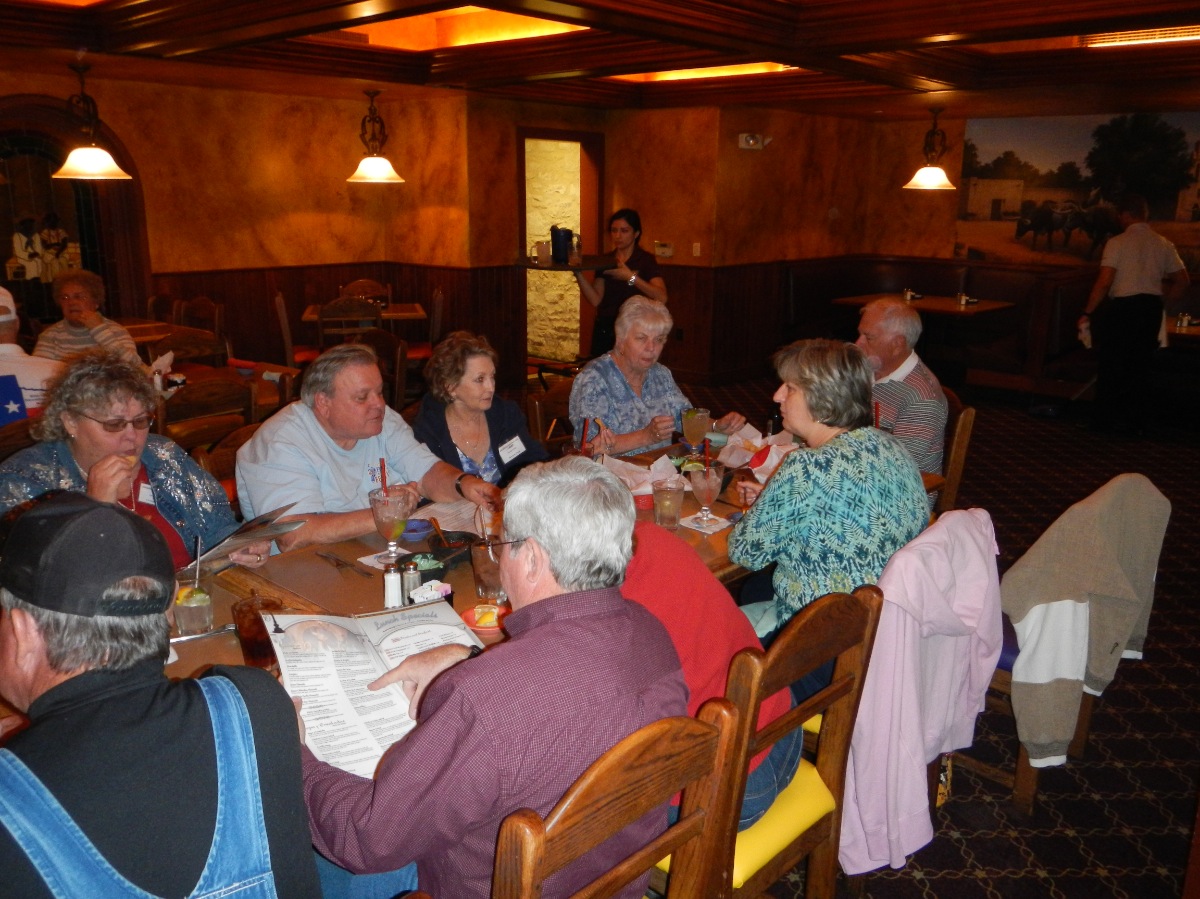
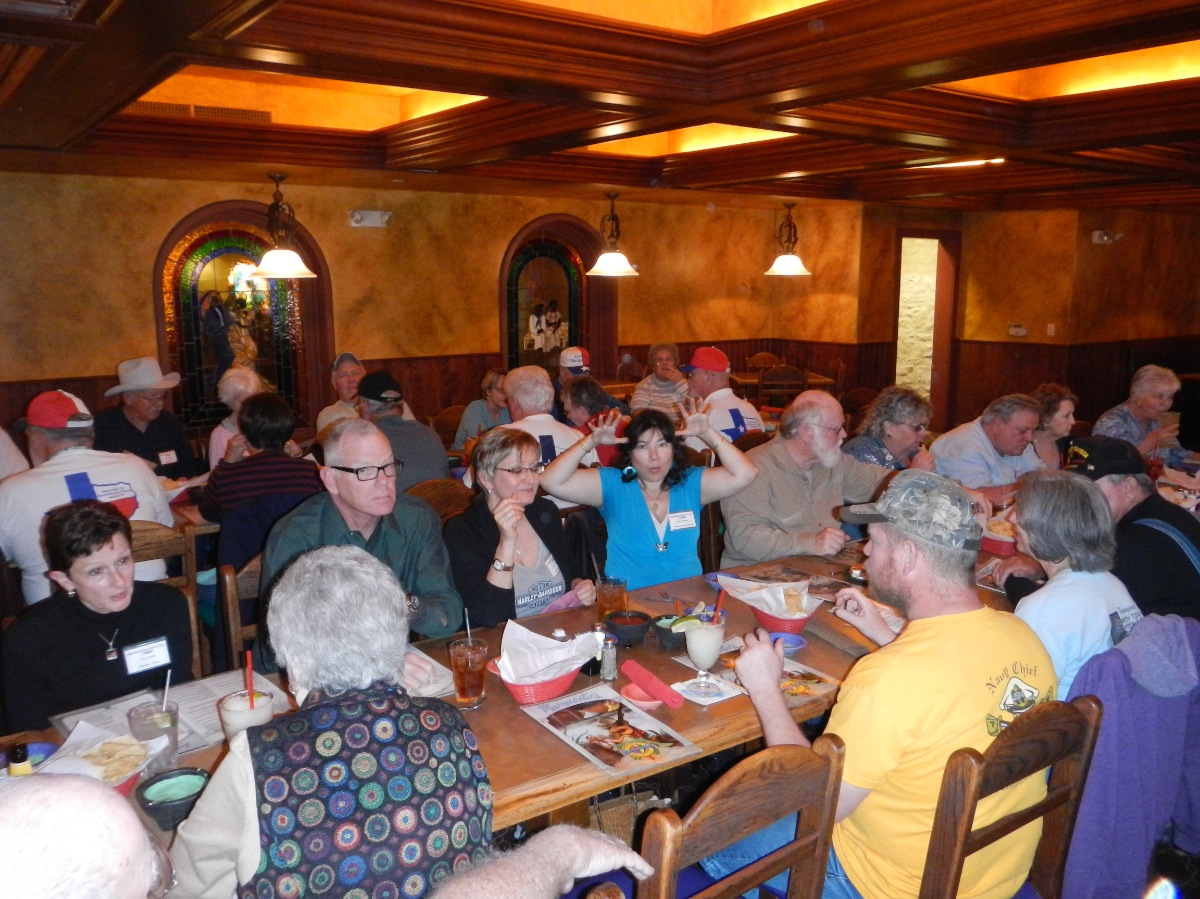
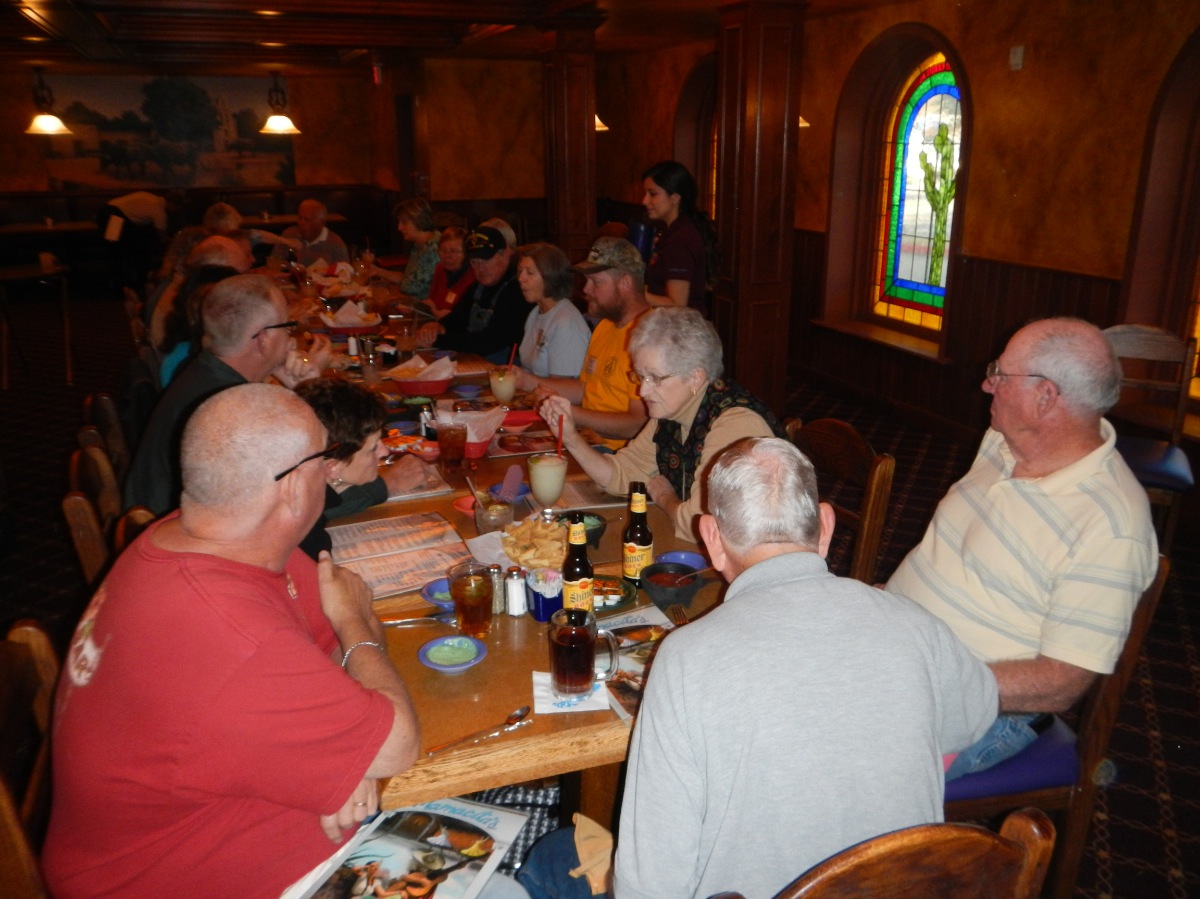
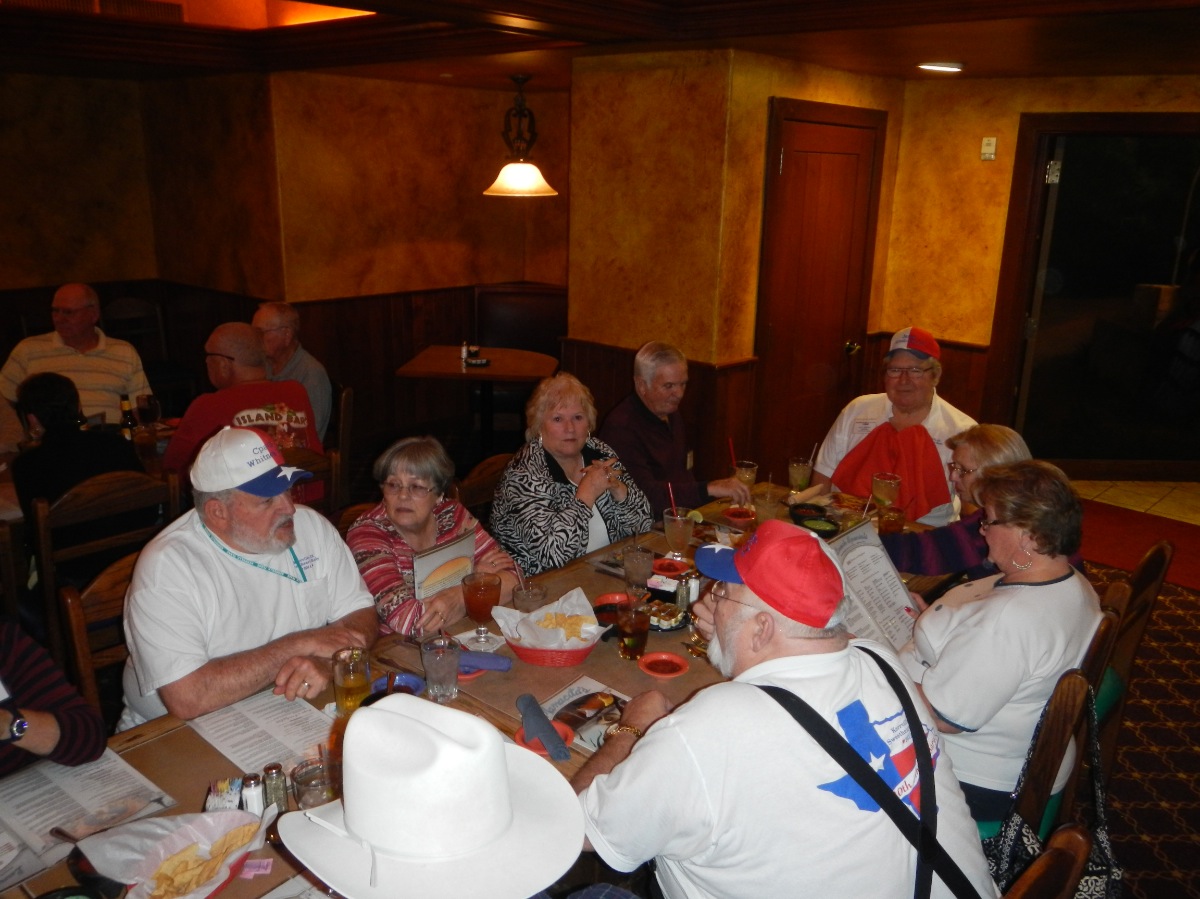
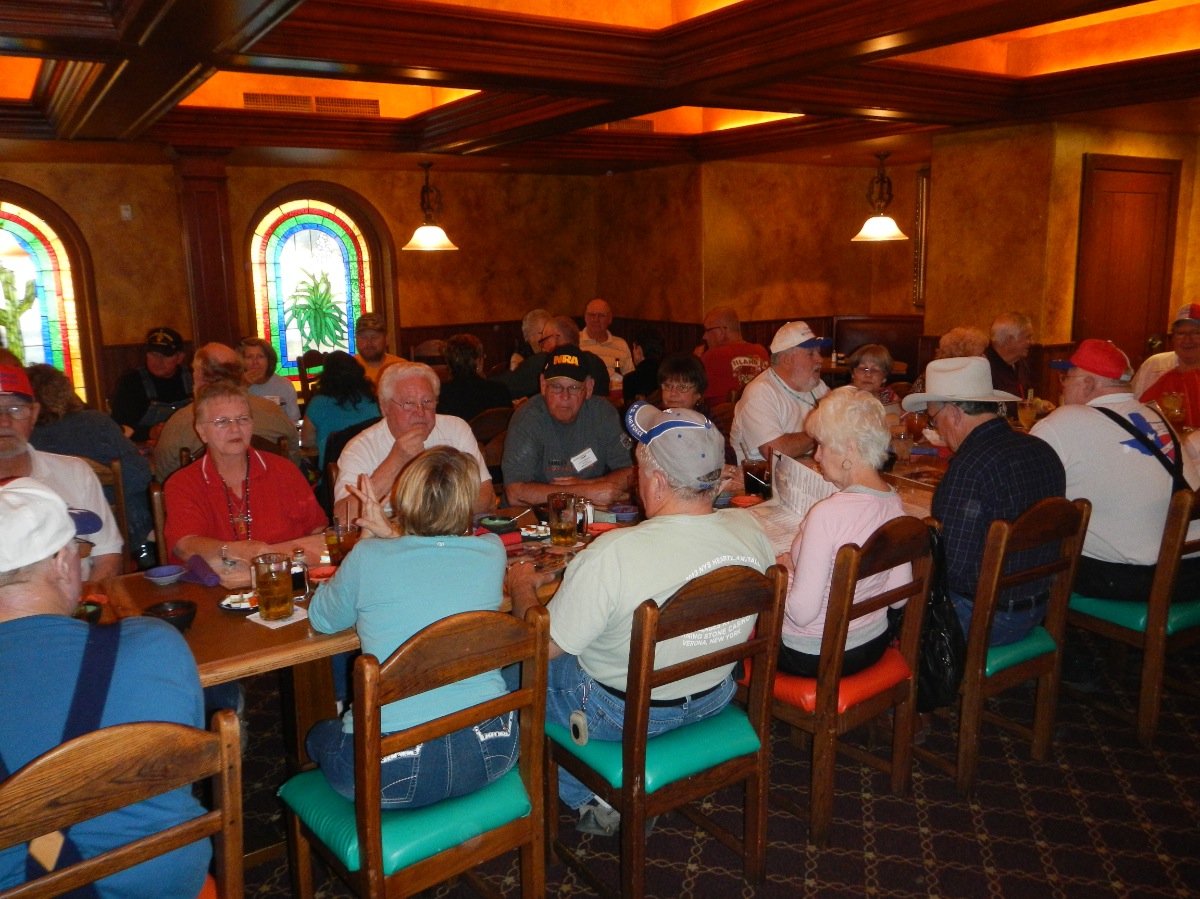
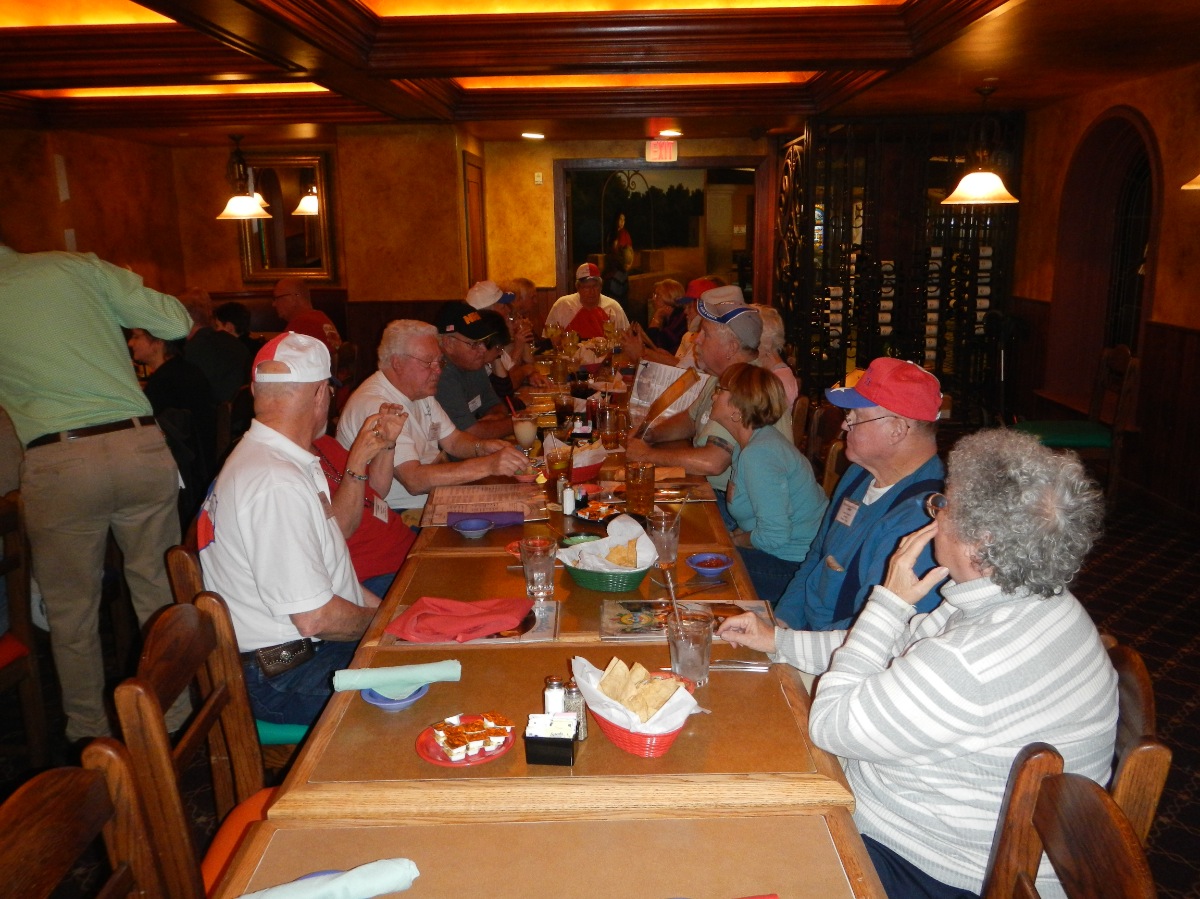
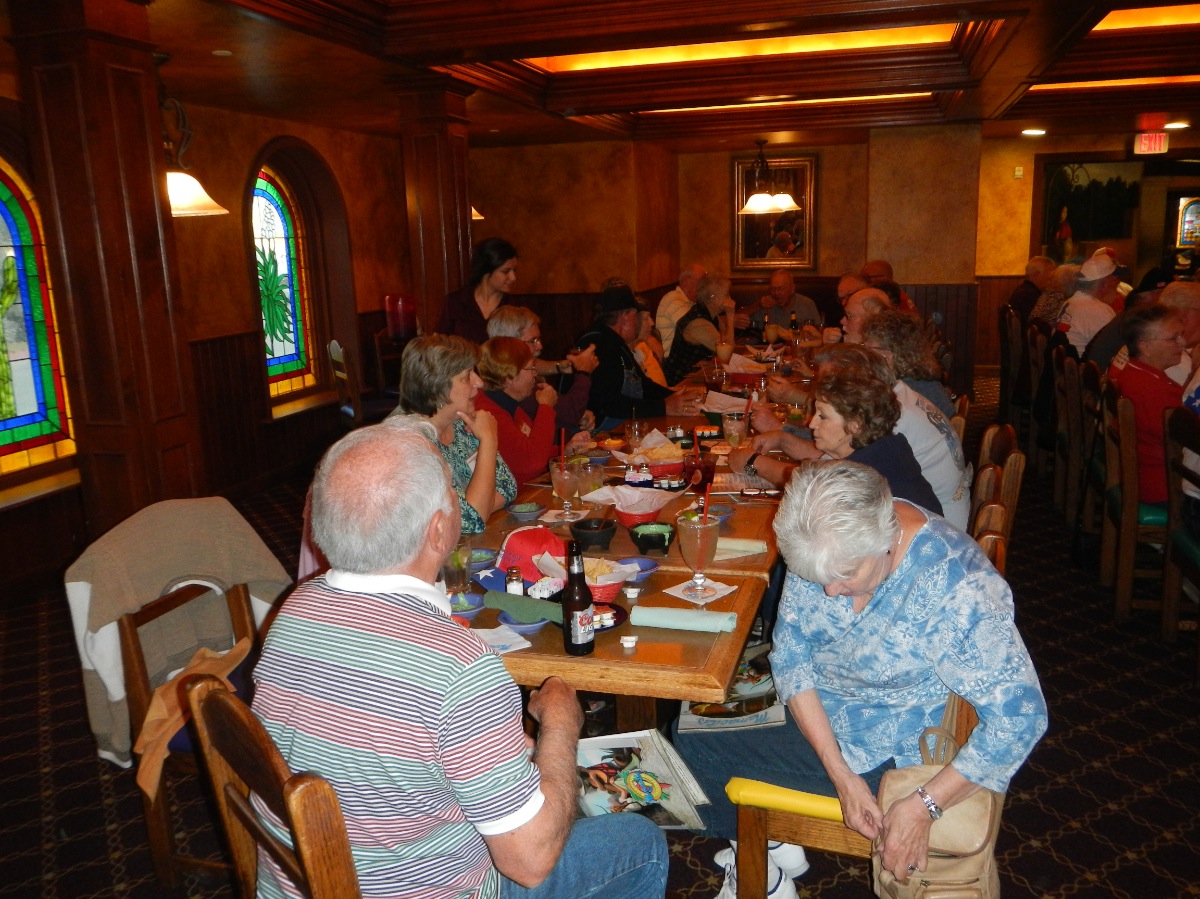
Today was day 2 of the 12th Annual RV.net Sweetheart Rally. The only agenda item today was dinner at Mamacita’s. Before dinner though, many rally attendees milled about the campground and visited with one another. Then at 4:30, we caravanned over to Mamacita’s for dinner. Great food, great company, great time.
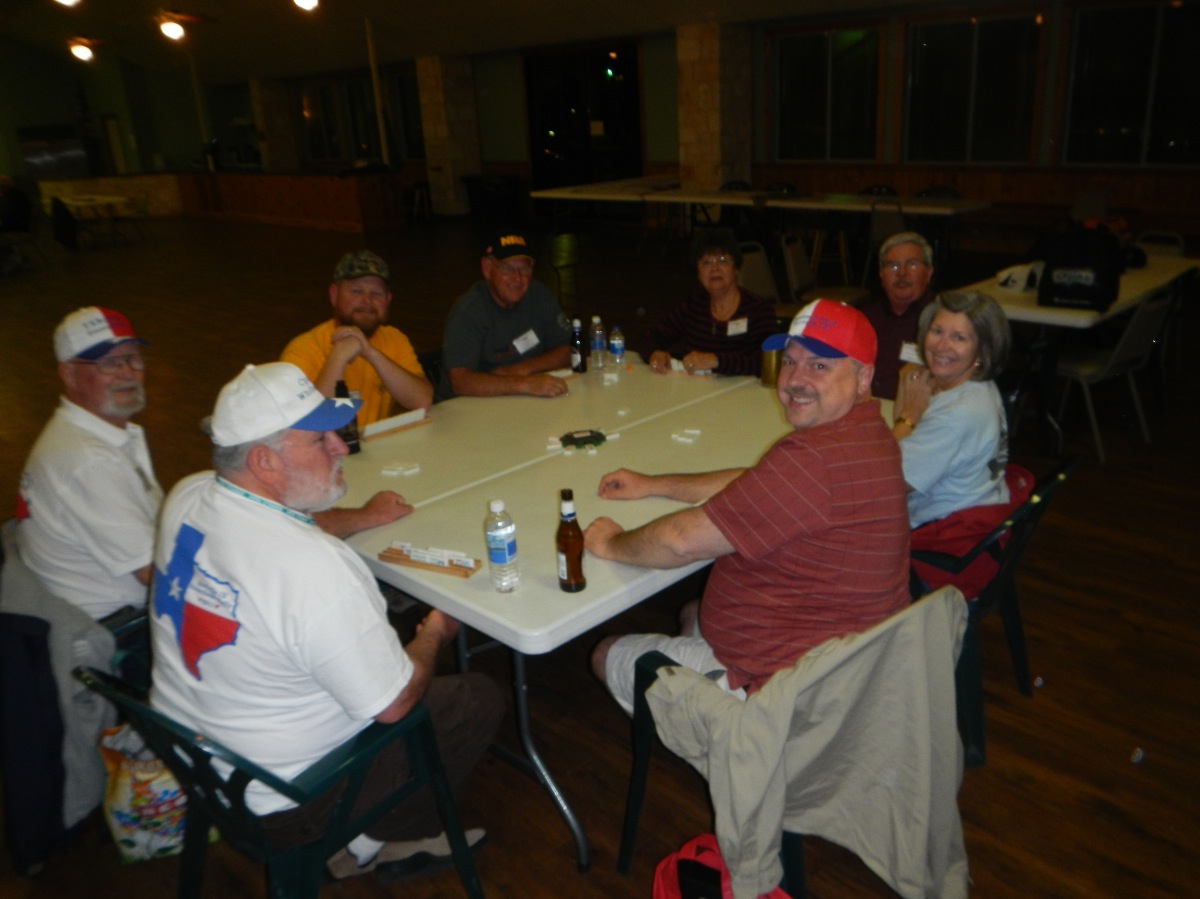
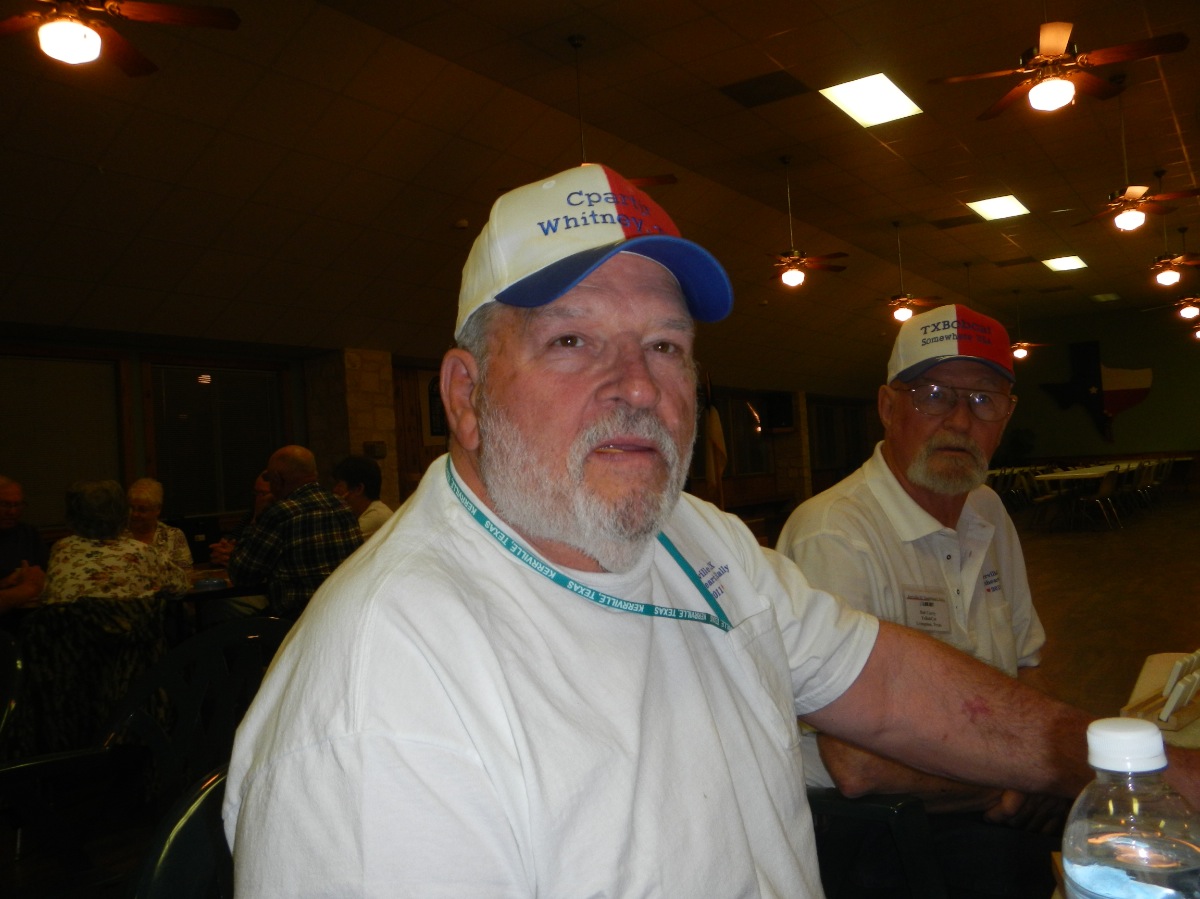
After dinner, about 20 of us went to the rally hall. Sixteen of us ended up playing dominoes at 2 tables. Fun times!